The smokey eye has never wavered in its popularity due to the sultry, sexy look it creates. A simple smokey eye can be mastered using just two shades of eye shadow – a dark contouring shade and a highlighting shade. Different effects can be achieved by introducing a third or fourth shade, but the two-shade process is relatively simple and still very dramatic.

The classic black or grey smokey eye look is best suited for the evening, but more subtle nude, brown or earthy colors can be used for everyday looks. This is a sexy, demure, smoldering look and will get you many admiring glances. It’s also a great look to master for Halloween too – our make-up artists think this is a must-have technique. So, to help you get practicing, here’s a step-by-step guide to creating the perfect smokey eye makeup look.
Our step-by-step guide for smokey eye makeup
Step 1 for smokey eyes – prep and prime
It’s important to prime your eyelids to make sure they’re nice and hydrated and the product has the best chance of sticking around. Do this by using a facial moisturizer the night before and before you begin your makeup. You can then add a specific eyelid primer of your choice to prep the eyelids fully. Primers will give eye makeup more staying power, and smooths the skin for better application.
Step 2 – Adding color
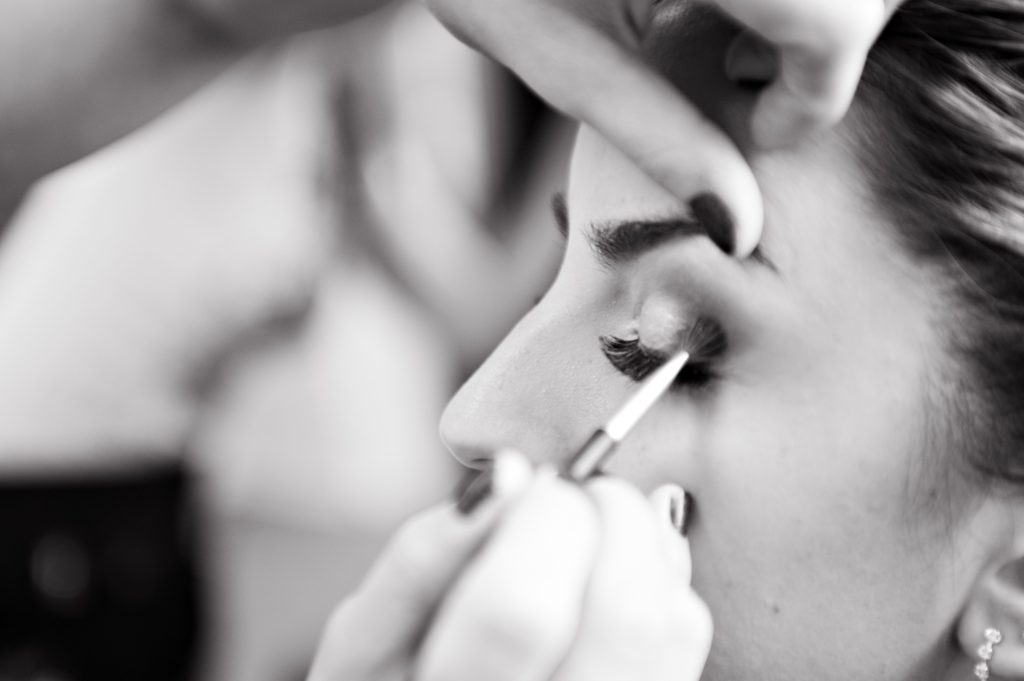
Once your eyelids are perfectly primed, you’re going to start adding color. Using a soft, oval-shaped brush that allows for blending, start adding the darker shade of your choosing to the outer edges and creases of your eyelids. Start small and work your way up and out until you have the desired coverage. The best advice we can give is to blend blend blend! You don’t want blocks of color, so use that soft brush to soften all the edges.
You can then use this same oval brush to pop some of the darker color along your bottom lash line. This really helps to make your eyes pop, however don’t get carried away in this step. You don’t want to use a lot of product here, just a small dusting, and make sure you don’t go too far away from the lash line, you don’t want to end up with dark circles around your eyes!

Next up is to add your lighter color. Again you’ll want a soft, oval-shaped brush and work the lighter color into the inner section of your eyelid and blend into the darker shade on the outer edge. Once this is nicely blended, you may then want to add a touch of white or a light silvery color just to the very inner corner of your eyelid just to give your eyes a little added sparkle. Keep this to a real minimum though, just a dab will do perfectly.
Step 3 – Highlight for added definition
To help your smokey eyes pop, apply a touch of highlighter just under the arch of your brow to the ends to show some definition. Again, don’t go overboard with this step, aim for a subtle glow that catches the light when you turn your head.
Step 4 – Add your eyeliner
Eyeliner is a great way to finish off the smokey eye makeup look. Apply your eyeliner just above the eyelash along the length of the eye, making sure the line doesn’t become too thick. True black is ideal to emphasize your look, or opt for a brown for something softer and more natural looking. Brown works especially well if you’ve chosen brown/gold/nude or earthy tones for your eyeshadow. You may also wish to add some eyeliner to your bottom lid, but this is your choice. If you do decide to add liner to the bottom lash line, keep it light.
Step 5 – Run some mascara along those lashes
Mascara is a must-have to finish off this iconic smokey eye look. Use it on both your top and bottom lashes to bring your eyes out even more.
Step 6 (optional) – Add false eyelashes
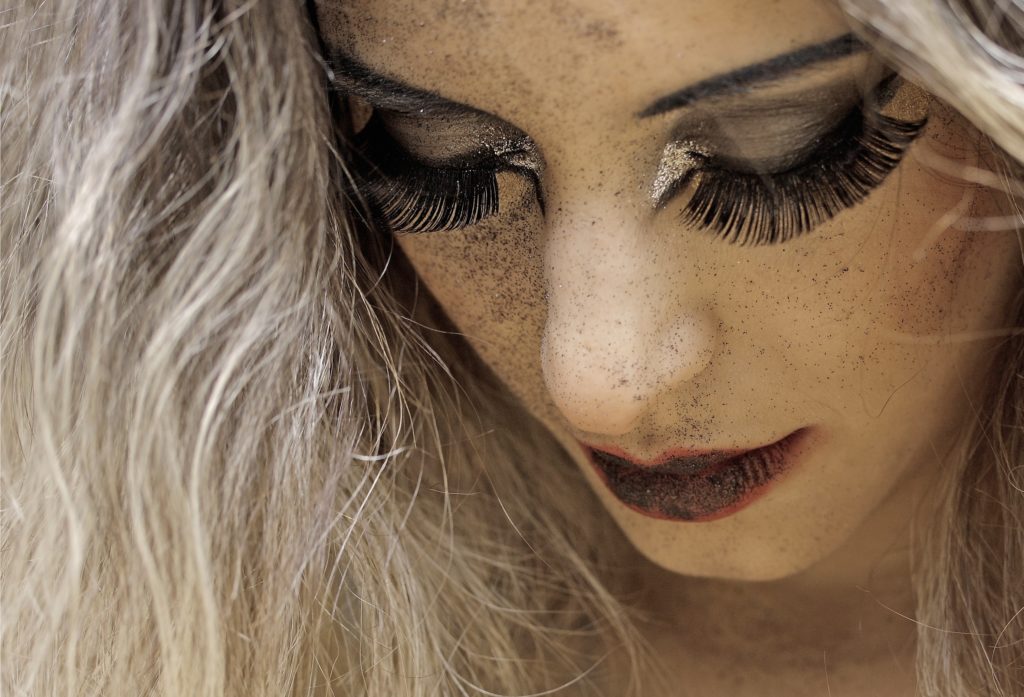
For all-out glamour, apply a pair of false eyelashes to add even more drama to your look. Opt for a few individual lashes at the outer edges for a more natural fluttery look, or go all out with your luscious falsies for a night out.

There you have it! Try this look the next time you go out for a dramatic look that will look stunning. You can purchase your very own makeup kit to achieve the smokey eye look here at Glamour Boutique. Hope you enjoy!
